I’ve installed three different DIY patio enclosure kits myself, and honestly, you can too—most wrap up in a weekend without contractor experience. You’ll find kits like Screen Tight Mini Track for simple screening, EasyRoom for full-frame year-round comfort, and soft-top options for milder climates. Everything arrives labeled and ready. The aluminum frames use lightweight 3 1/8-inch extrusions, screen mesh options vary, and installation typically takes just 48 hours. Stick around to discover which kit matches your climate and budget.
Build Your Patio Enclosure in a Weekend: DIY Kits Explained
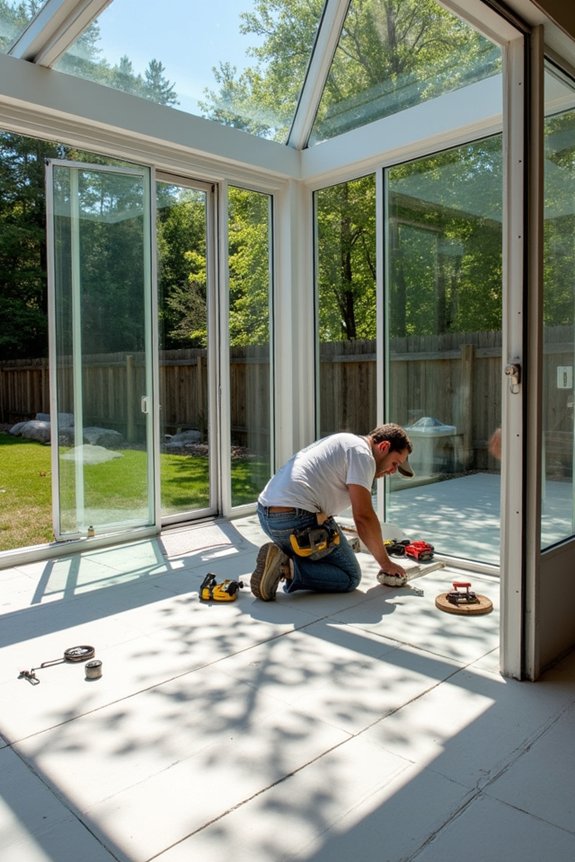
Ever wonder if you could actually build a patio enclosure yourself? I did too, and here’s the thing—you totally can. DIY Patio Enclosure Kits arrive ready to go, shipped directly from the manufacturer. You’ll get everything labeled clearly, making the whole process straightforward.
What I appreciate most is the speed. You’re looking at a weekend project, whether you’re going solo or calling in a local handyman. The kits use 3 1/8-inch extruded aluminum framing that’s easier to work with than expected.
You’ve got real choices here. Pick from multiple screen mesh options like Fiberglass or BetterVue, depending on your needs. The insulated roof panels perform well, and those step-by-step installation guides? They walk you through everything. You’re not alone in this project—the instructions provide clear direction.
Screen Tight Mini Track: Simple Screening for Existing Patios
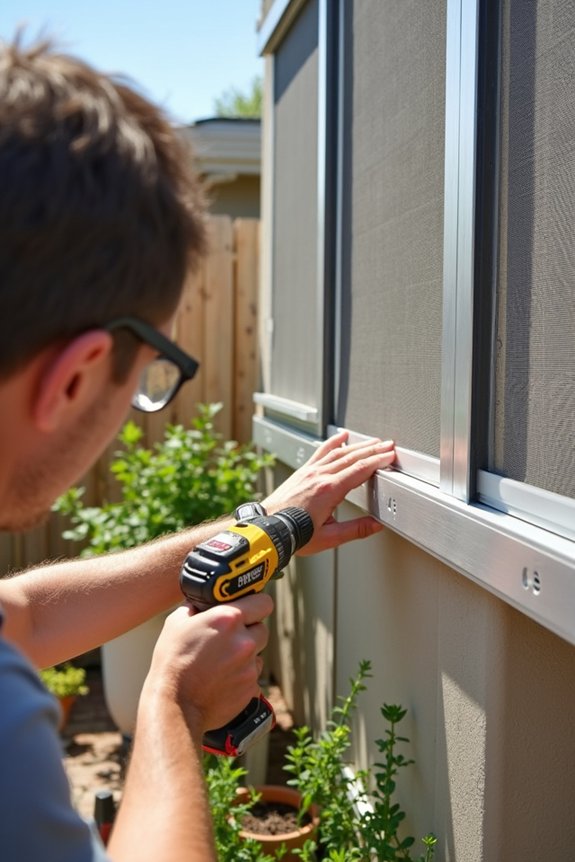
If you’ve already got a patio but want to add screening without a full enclosure project, Screen Tight Mini Track might be your answer. This DIY screening solution works well for those who want results without the contractor costs.
The system uses 8-foot aluminum track lengths with hidden fasteners, creating a clean, professional appearance. You’ll trim and secure the tracks, then roll in your chosen screen mesh. The kits include everything: screws, spline, and clear instructions.
The screen mesh options give you flexibility. You can pick Fiberglass for basic protection, BetterVue for better views, Pool & Patio for durability, or No-See-Um for serious insect defense. Whether you’re upgrading an existing patio enclosure or starting fresh, installation moves quickly and smoothly.
EasyRoom Kits: Full-Frame Patio Enclosure Systems for Year-Round Comfort
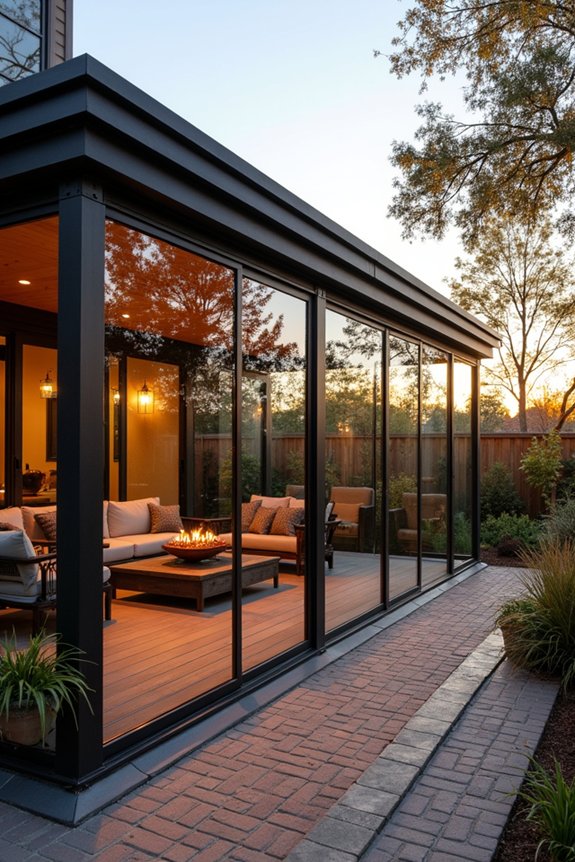
Ready to turn your patio into a year-round living space? EasyRoom Kits offer a full-frame patio enclosure solution that you can actually install yourself. The DIY process is manageable for homeowners of all skill levels.
Here’s what these kits include:
- Strong aluminum frame with 3 1/8-inch extruded components in white or sandstone finishes
- Multiple window options including double-pane Comfort-Gard Plus with Low-E technology
- Insulated roof panels and aluminum screen mesh for flexibility
- Complete installation manual with financing available
The kit comes with everything needed, though some site modifications might be necessary. Shipments typically arrive within 30–45 days, and they ship throughout the continental United States excluding Florida. This is a genuine DIY project that extends your outdoor space into a functional year-round area.
Soft-Top vs. Hard-Top: Which Material Fits Your Climate?
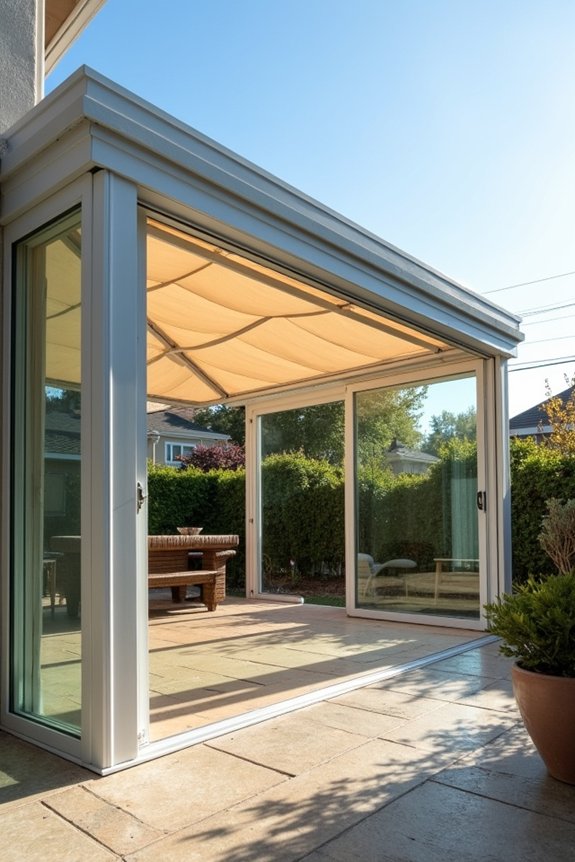
When you’re choosing between soft-top and hard-top enclosures, your local weather should drive the decision. I’ve found that soft-tops like Jardin Patio Plus work well for three-season use in milder climates. They prioritize ventilation and insect protection, so you’ll stay comfortable without feeling boxed in.
Hard-tops, though, are the strong choice for demanding winters. They’re engineered to handle serious snow loads and wind, plus their insulation keeps things warm year-round. I’d choose hard-tops if you experience heavy snowfall or extreme temperatures.
Consider your climate honestly. If winter’s mild where you live, soft-tops save money and installation hassle. But if you want to use your patio every season, hard-tops’ structural strength and insulation justify the cost. Either way, you’re getting something that works.
Your 48-Hour Installation Timeline: What to Expect
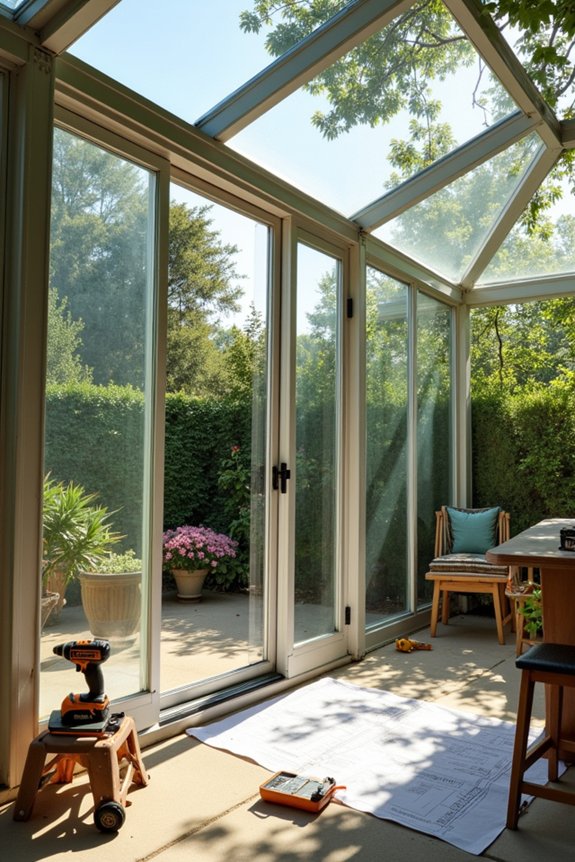
Once you’ve settled on whether soft-tops or hard-tops fit your climate, installation begins. It’s straightforward, and many homeowners have completed this successfully.
Your 48-hour installation timeline:
- Day one morning: Unbox components and verify everything matches your labeled parts for your porch enclosure
- Day one afternoon: Align aluminum frames with existing columns, then begin on-site assembly inside the structure
- Day two morning: Install PES enclosures—whether roll-up curtains or vinyl glass options
- Day two afternoon: Final touches on light fixtures and details
Most DIY kits wrap up in partial-day setup, providing immediate indoor-outdoor living space.