A 20×20 patio runs you $6,500–$12,000 installed, and I’ll break down why.
Material choice matters most—concrete pavers cost $2–$8 per square foot, while natural stone hits $10–$30.
Then there’s excavation and site prep, which gets pricey if your ground’s uneven.
Base materials, drainage, labor rates in your region, design complexity like curves, permits, and finishing touches all stack up.
Knowing these seven factors helps you understand where your money’s actually going.
What Paver Material Costs: From Concrete to Stone
When you’re planning a 20×20 patio, the material you choose will significantly impact your budget—and it’s the biggest decision you’ll face.
Concrete pavers are your most affordable option, running $2–$8 per square foot installed. For your 400-square-foot space, you’re looking at roughly $800–$3,200 total. They’re reliable and practical, though fairly basic in appearance.
Concrete pavers cost $2–$8 per square foot installed, making them the most affordable patio option at $800–$3,200 for a 20×20 space.
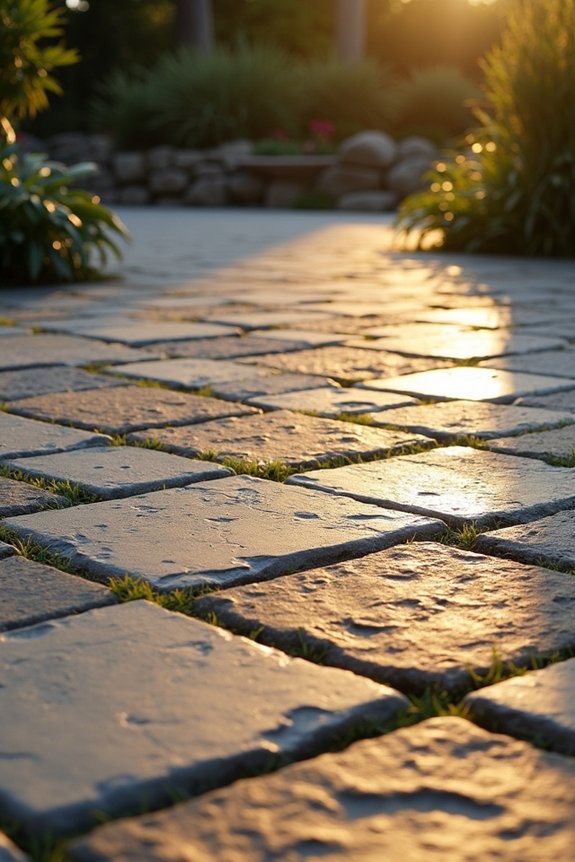
Natural stone pavers—think travertine or bluestone—are the premium choice. They’ll cost you $10–$30 per square foot, pushing your project toward $4,000–$12,000 or more. This option works well if you want a high-end appearance.
Here’s my take: concrete pavers offer solid value for most homeowners. But if you want architectural or textured concrete options, they add visual interest at a lower cost than natural stone.
Excavation and Site Prep: Why Uneven Ground Costs More
Before we lay down a single paver, I need to assess your soil and determine what grading work is necessary. Uneven ground requires extra excavation that will increase your budget significantly. The base layer preparation on sloped or uneven terrain demands thicker fills and stronger materials, which means material and labor costs add up quickly.
Soil Assessment And Grading
Why does uneven ground turn a straightforward patio project into an expensive headache?
Soil assessment and grading aren’t optional steps. I’ve learned this the hard way. Before any paver gets laid, we need to understand what’s happening beneath the surface.
Consider these essentials:
- Soil testing determines drainage needs and prevents costly pooling problems down the road
- Proper grading ensures water runoff, protecting your investment from future damage
- Site preparation adjusts base depth based on soil conditions, affecting both materials and labor
Challenging soils demand deeper gravel beds and extra compaction work. Sloped sites might need retaining edges or steps, adding hundreds to your budget. I’d rather invest in solid grading upfront than deal with settling or flooding later. It’s the difference between a patio lasting decades versus needing expensive repairs.
Base Layer Preparation Costs
Once you’ve got your soil sorted out, the real work begins—and that’s where your budget can either stay reasonable or balloon fast. I’ve seen base prep costs range from $300–$500 for straightforward setups, but uneven ground changes everything. When soil conditions aren’t ideal, you’ll need extra stabilization work that drives up both materials and labor time.
Your base materials—typically gravel and sand—form the foundation that determines whether your patio lasts five years or twenty-five. Proper compaction here isn’t optional; it’s what separates a patio that performs well from one that shifts and cracks. Sloped sites demand additional drainage adjustments too, adding unexpected expenses. I learned this the hard way on my first project. Getting base prep right means fewer headaches down the road.
Base Materials and Drainage: $300–$800 You Didn’t Budget For
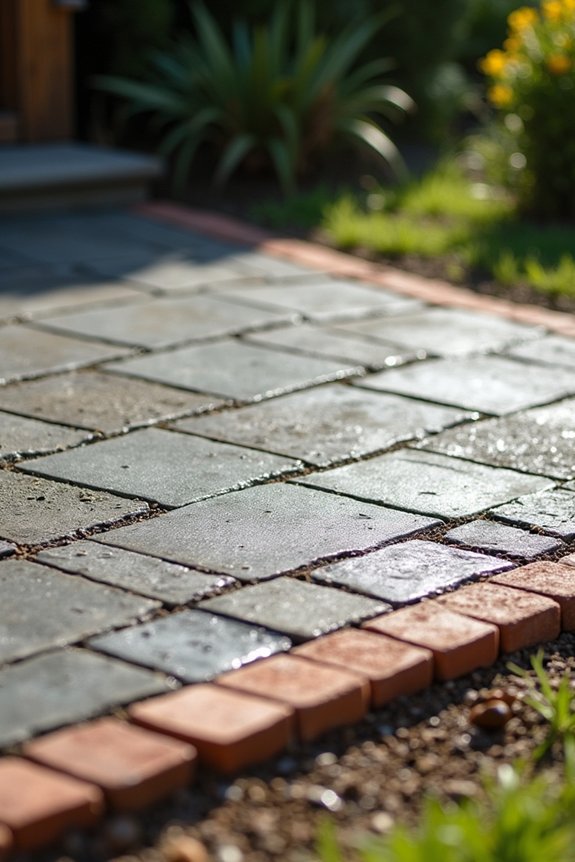
Once you’ve cleared and leveled your site, you’ll need to tackle three critical layers: the gravel and sand foundation that costs $300–$500, the drainage system that prevents water from pooling under your pavers, and the edging materials that’ll hold everything in place. I didn’t budget for drainage my first time around, and it cost me way more than the $150–$300 I should’ve spent upfront. These three components work together, and skimping on any one of them usually means bigger problems (and bigger bills) down the road.
Gravel And Sand Foundation
Think of your patio’s base as the unsung hero—it’s literally what keeps everything from shifting into a wavy mess.
I’ve learned that a solid paver patio base costs $300–$800, depending on your yard’s conditions. Here’s what I discovered matters most:
- Gravel and sand foundation – You’ll need quality materials to level everything properly and support those pavers long-term.
- Site preparation – Uneven soil or slopes mean extra gravel, limestone sand, or polymer-infused options that bump costs toward $500–$800.
- Compaction and drainage – Proper compaction prevents shifting, while drainage adjustments stop water pooling that’d wreck your patio later.
I’ll be honest: skipping corners on the sand foundation costs you. Budget for this base work now, and you’re avoiding expensive repairs down the road.
Drainage System Installation
Where’s the water going after it rains on your new patio? It’s probably pooling somewhere you didn’t expect. That’s where drainage system installation comes in, and it’s worth the investment.
During site prep and base preparation, we’re not just laying down gravel and sand. We’re thinking about water flow. A proper drainage system costs $300–$800, but skipping it means asking for problems later.
Water pooling leads to eroded base materials and shifting pavers. Nobody wants that headache.
Your drainage setup might include grading adjustments, trenching, or perforated piping. It depends on your yard’s slope and soil type. Investing in good drainage now saves you from expensive repairs down the road.
Edging Material Selection
How do you keep those pavers from creeping outward like they’re trying to escape? You’ll need solid edging materials, and I’ve learned this the hard way. Here’s what affects your edging cost:
- Material choice – Concrete runs $100–$300, while stone or metal costs more
- Design complexity – Simple borders stay budget-friendly; decorative or curvilinear designs push costs toward $800
- Installation labor – Professional installation keeps pavers in place long-term
I’ll be honest: skimping on edging seems smart initially. But inadequate edging causes pavers to shift and weeds to invade, creating expensive repairs later. Proper edging design prevents pooling issues too. You’re really investing in durability when you choose quality edging materials upfront. It’s worth the expense.
Labor Costs for Paver Installation: What Your Region Charges
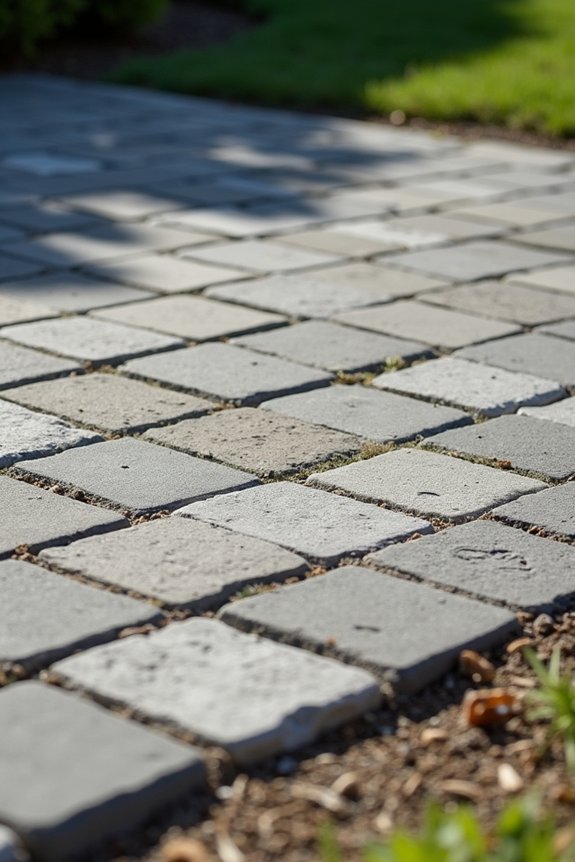
When you’re budgeting for your patio, labor’s probably the biggest wildcard you’ll face. Regional rates vary widely, and installation costs depend heavily on where you live.
| Region | Labor Rate/sq ft | Site Difficulty | Total Impact |
|---|---|---|---|
| Urban Northeast | $12–$15 | High | +60% |
| Midwest | $8–$11 | Medium | +55% |
| Southeast | $7–$10 | Medium | +52% |
| Southwest | $9–$13 | High | +58% |
| West Coast | $11–$14 | High | +60% |
Challenging terrain bumps those numbers higher. Rocky soil, steep slopes, or tight access means crews work slower and charge more. Budget $6,500–$10,000 total for professional installation. Getting multiple quotes from local contractors helps you understand what’s normal in your area.
Design Complexity: Why Curves and Patterns Cost Extra
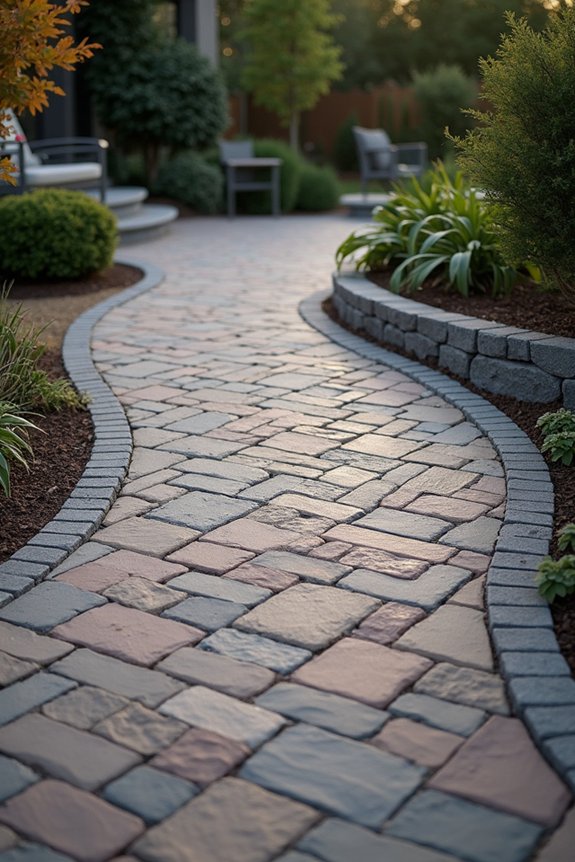
Your patio design choice will affect your budget—and I learned this when comparing quotes. Here’s what I discovered about design complexity:
- Curved layouts demand extra cutting and alignment work, which means more labor hours and wasted materials.
- Multiple patio patterns require different paver sizes, colors, and textures, complicating coordination and driving up costs significantly.
- Precise base preparation is necessary to prevent shifting on intricate designs, adding excavation and compaction expenses.
I’ll be honest—herringbone and curved borders look attractive, but they’ll add hundreds to thousands of dollars to your project. Simple straight-edged installations cost way less because they require minimal cutting and faster placement. Your budget matters here, so think carefully about whether that fancy design justifies the extra expense.
Permits, Sealants, and Finishing Costs That Add Up
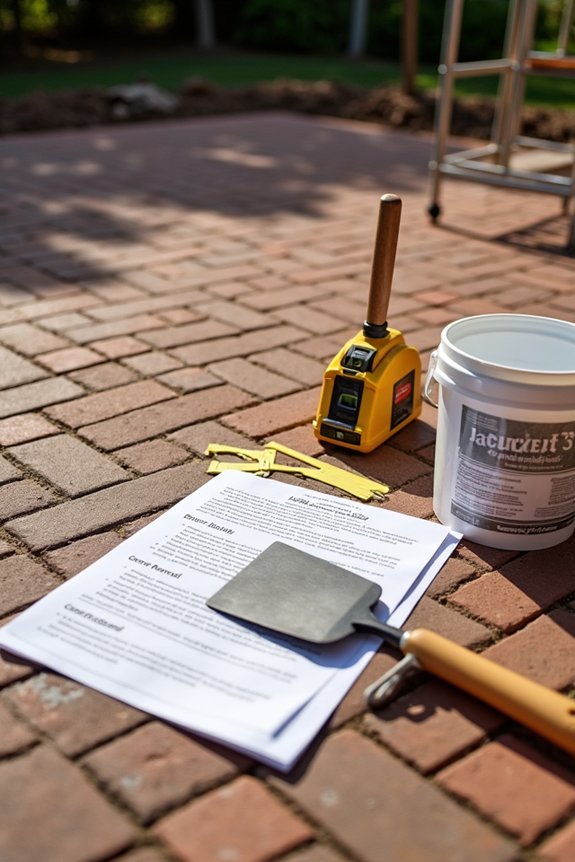
Ever notice how project costs balloon after installation? Yeah, I’ve been there too. Beyond the pavers themselves, you’re looking at several hidden expenses that really add up.
| Cost Factor | Price Range |
|---|---|
| Permitting fees | Varies by region |
| Sealing | $0.50–$1.50/sq ft |
| Joint sand | $0.50–$2/sq ft |
| Edge restraints | Varies by material |
Permits vary wildly depending on where you live. Some regions require them; others don’t. Sealing protects your investment and costs about $0.50–$1.50 per square foot. Then there’s joint sand—that polymeric stuff fills gaps between pavers and runs $0.50–$2 per square foot. Edge restraints matter too, whether you choose cheap concrete or fancy stone. Drainage and proper base work might seem pricey upfront, but they’ll save you thousands in repairs down the road.
Getting Accurate Quotes: What Contractors Actually Measure
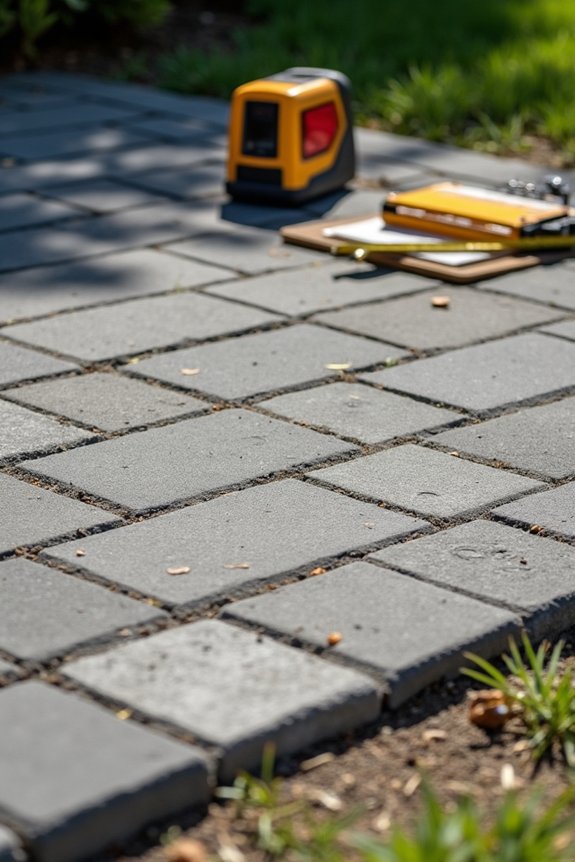
How do contractors actually figure out what your 20×20 patio will cost? They’re not just guessing—they’re measuring and assessing several key factors that directly impact your final quote.
- Base preparation and accessibility – Contractors evaluate sand, gravel, and compaction needs while checking how easily they can access your yard with equipment.
- Site conditions and drainage requirements – They examine slopes, soil stability, and water flow patterns to prevent your patio from pooling or shifting over time.
- Design complexity – Pattern choices, borders, curves, and paver thickness all influence per-square-foot pricing significantly.
Most contractors break quotes into materials, installation labor, and base/edging costs. They’re measuring the 400 square feet carefully because accuracy here protects both of us from surprises later.