Building a dark ride in your backyard requires three fundamentals: a clear story that guides everything, a budget ranging from $700 DIY to $1.2 million professional, and accurate space measurements—especially if you’re working with 16×16 feet. You’ll need a track system, power setup using 12-volt batteries, lighting effects like blacklights and fog machines, and safety features including lap bars and emergency stops. Whether you tackle it yourself with salvaged parts or hire professionals depends on your timeline and comfort level with construction. The specifics of pulling this together reveal more than you’d expect.
Define Your Story and Vision
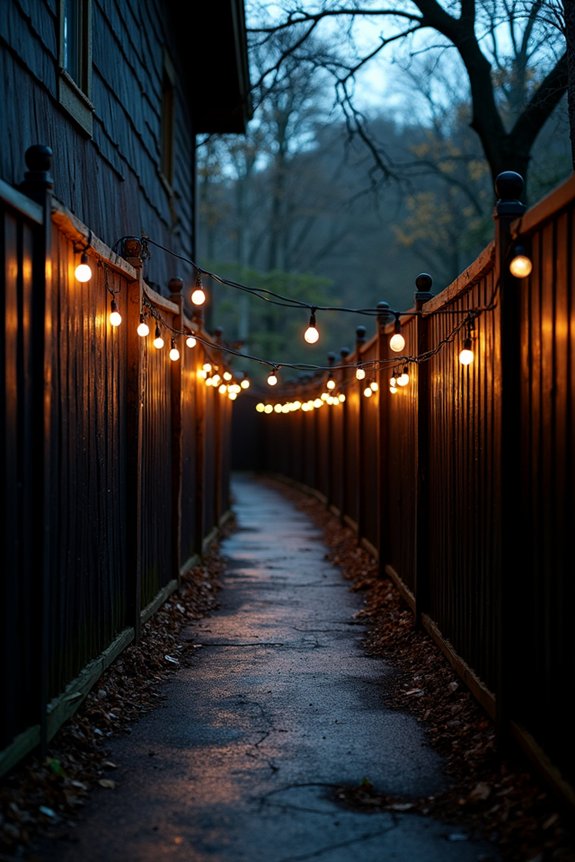
How do you want your visitors to feel when they step into your dark ride?
That question is where everything starts. Your story and vision are the backbone of the entire experience, and they’ll guide every decision you make moving forward.
Your story and vision are the backbone of the entire dark ride experience, guiding every decision you make moving forward.
I’d suggest picking a clear theme first—maybe a haunted mansion, a spooky forest, or even a mortician’s workshop. Whatever you choose should match your audience and available space. Then develop a concise concept that translates into actual scenes, sounds, and visuals.
Think about the emotional journey too. What’s the central hook that’ll stick with visitors long after they leave? A strong motif like “Scream in the Dark” ties everything together.
Your vision isn’t just decoration—it’s your roadmap.
Know Your Budget: $700 DIY to $1.2M Turnkey
Where’s your dark ride budget sitting right now? Here’s the reality: you’ve got options across the price spectrum.
If you’re starting lean, a DIY backyard setup runs around $700. You’ll grab basic materials and layer in lighting, projection, and props gradually. It’s totally doable if you’re patient and creative.
Your core costs break down like this:
- Track or ride platform (the foundation everything rides on)
- Façade and theming (what guests actually see)
- Audio-visual effects and safety systems (the experience happens here)
Want something turnkey? Professional dark ride companies charge roughly $1.2 million. They handle everything: CGI effects, full theming, fabrication, shipping, and on-site assembly.
The sweet spot? Figure out your actual budget first, then decide whether you’re building incrementally or hiring professionals. Both paths work—just different timelines and effort levels.
Measure Your Space: Why 16×16 Feet Matters
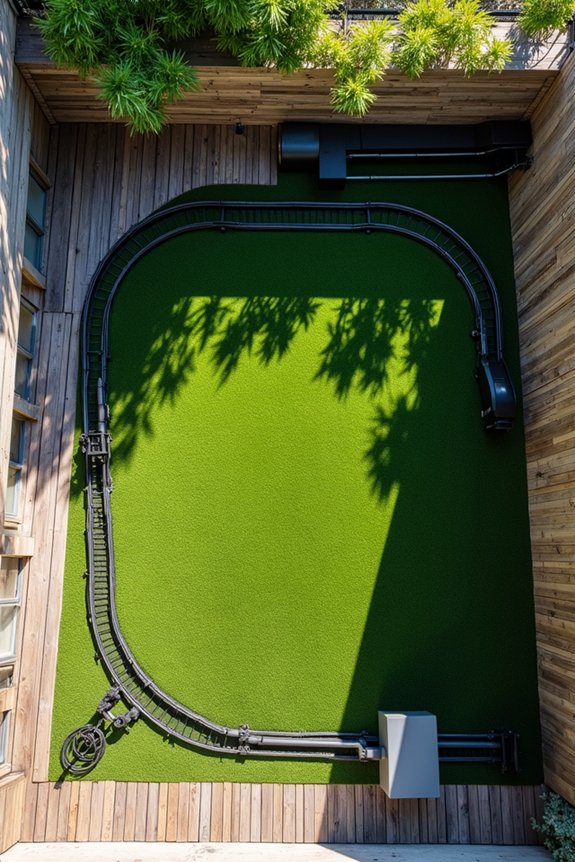
A 16-by-16-foot footprint sounds roomy until you’re actually building a dark ride in it. I’ve learned this the hard way. Your compact footprint demands serious planning before you buy anything. I’d recommend mapping out your space first, measuring twice and measuring again. A modular track system becomes your best ally here because you can adjust sections without starting over. You’ll want to sketch your layout, accounting for both horizontal flow and vertical clearance. Height matters more than you’d think. Your track’s elevation changes can’t bump into your ceiling or facade. Plan your guest entry and exit routes too. This isn’t just about fitting everything in—it’s about creating something that actually works and serves your purpose well.
Choose Your Path: DIY or Professional Build
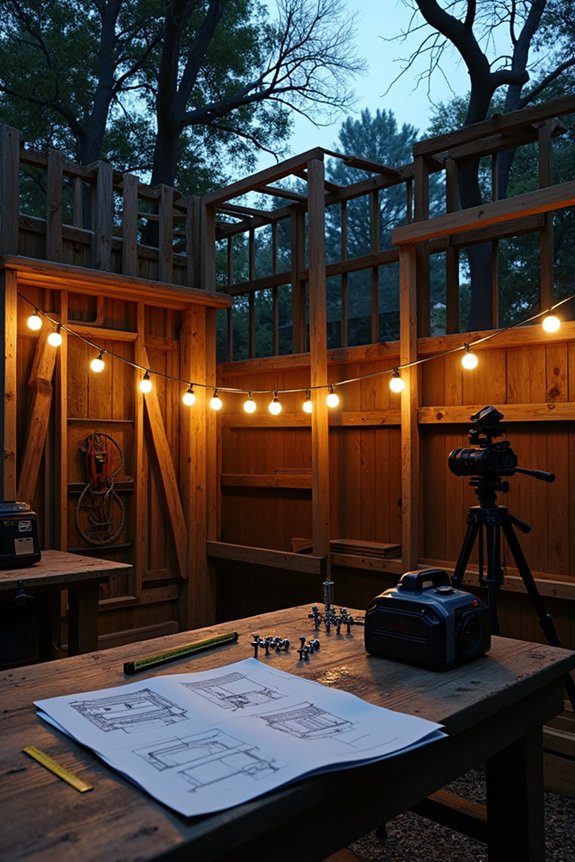
Now you’ve got to decide: are you building this yourself in your garage, or hiring professionals to handle the design? I’ve seen backyard builders pull off solid dark rides with salvaged parts and elbow grease, but you’ll want to think hard about your budget, how much time you can actually spend, and whether you’d rather save money or save weekends. Either way—DIY or professional—you’re looking at trade-offs, so let’s break down what each path really costs you.
DIY Garage Projects
Once you’ve decided to build a dark ride, the biggest question isn’t really about the track or the motors—it’s whether you’re going the DIY route or hiring professionals. I’d recommend starting small with a DIY garage project first.
Here’s what makes sense for a backyard build:
- A modular track system using 4×4 ft plywood panels keeps things manageable and cost-effective
- Salvaged low-voltage motors and simple battery systems reduce complexity significantly
- Basic safety features like lap bars and bumper walls you can install yourself
The honest truth? Starting with a two-scene prototype lets you test everything without major expense. You’ll learn what actually works before committing more money. If you want elaborate CGI effects and professional integration later, you’ll already know your space and what you’re doing.
Professional Design Services
If you’ve tested your two-scene prototype and realized you want something bigger, professional design services might be your next step.
Full-service designers handle everything I’d struggle with alone. They create storyboards, blueprints, and CGI FX for immersive dark rides. Want a Haunted Mansion theme? They can deliver that.
I learned that turnkey pricing starts around $1.2 million for complete builds or $250,000 for renovations. It’s substantial, but you’re getting expertise I couldn’t fake. Professionals manage guest flow, safety planning, and entertainment lighting with precision.
They install everything on-site. No guesswork. No frustration.
For backyard dark rides years old or brand new, professionals turn vague ideas into polished attractions. You’ll join creators who’ve chosen quality over DIY complications.
Budget And Timeline Considerations
You’ve got two roads ahead, and they look completely different when you map out the money and time involved.
The DIY route lets you start small with basic materials:
- PVC track, plywood panels, and foam facades keep costs between a few hundred to a few thousand dollars
- You’ll prototype in weeks using phased tooling and testing
- Safety solutions require your own research and implementation
The professional path costs around $1.2 million minimum for turnkey packages. You’re getting integrated safety, licensing, and complete installation. But you’re waiting months or longer for completion.
I’d recommend starting DIY if you’ve got patience and a modest budget. You’ll learn what you actually want before committing big money. Professional builds make sense if you’re ready to go all-in immediately and want everything handled for you.
Design Your Track System and Vehicle
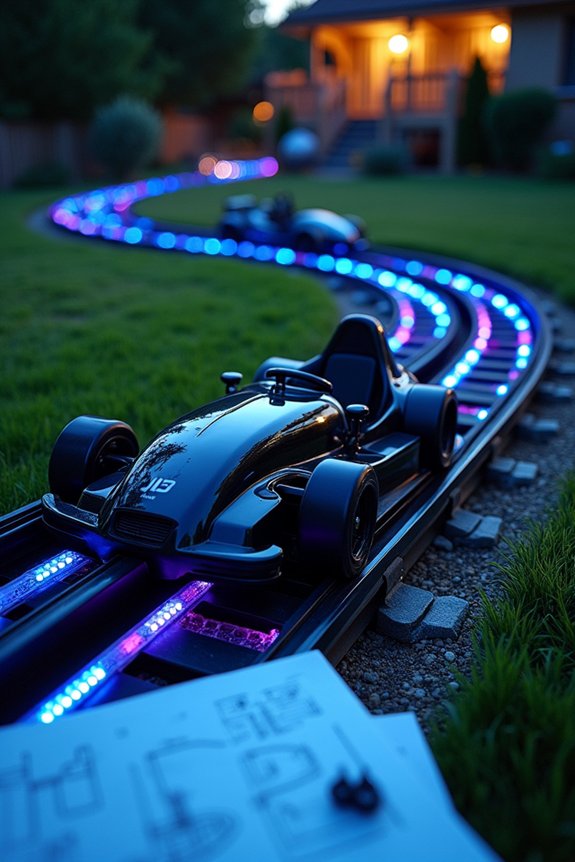
How’re you going to actually move your dark ride vehicle around that tight backyard space? I’m using PVC pipe shaped into curves with heat-forming and drilled connector holes. It’s lightweight and fits snugly in compact areas.
| Component | Material | Purpose |
|---|---|---|
| Track Guide | Curved PVC Pipe | Directs vehicle smoothly |
| Casters | Four Horizontal | Supports and stabilizes |
| Drive Wheels | Center Wheel Pair | Powers forward motion |
My undercarriage setup combines those four horizontal casters with a center drive wheel pair connected to a gearbox. I’m powering everything with salvaged electric ride-on components—basically two 6-volt motors wired in series to hit 12 volts. A simple RC-style handheld switch gives you control. This approach keeps costs down while delivering reliable performance your guests will appreciate.
Build Walls, Doors, and Facades
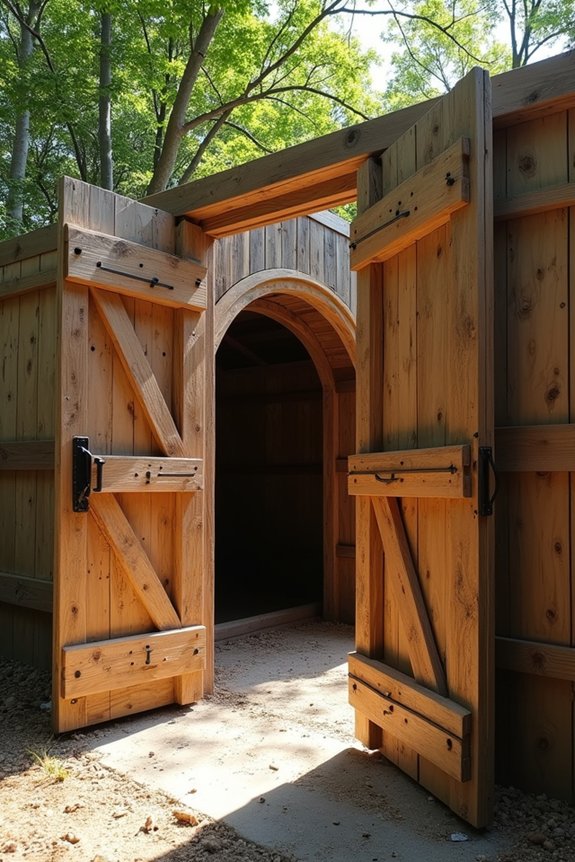
Now that you’ve got your vehicle gliding smoothly along that PVC track, it’s time to build the walls and facades that’ll hide the mechanics.
I’ve found that black plastic sheeting stretched between PVC uprights works well for lightweight, movable enclosures. You can reconfigure them whenever you want, which is useful since my backyard layout changes seasonally.
For a more polished look, here’s what I typically use:
- 1/8-inch panel board framed with 1x2s, painted to mimic stone or weathered doors
- Doors mounted on PVC tracks with counter-weight systems using fishing line for smooth closing
- Modular 4×4-foot sections bolted together with L brackets and toggle bolts
This approach lets you disassemble and re-skin everything easily. When you’re standing inside your creation watching riders experience it, you’ll appreciate how customizable it all is.
Wire Your Lights, Fog, and Sound
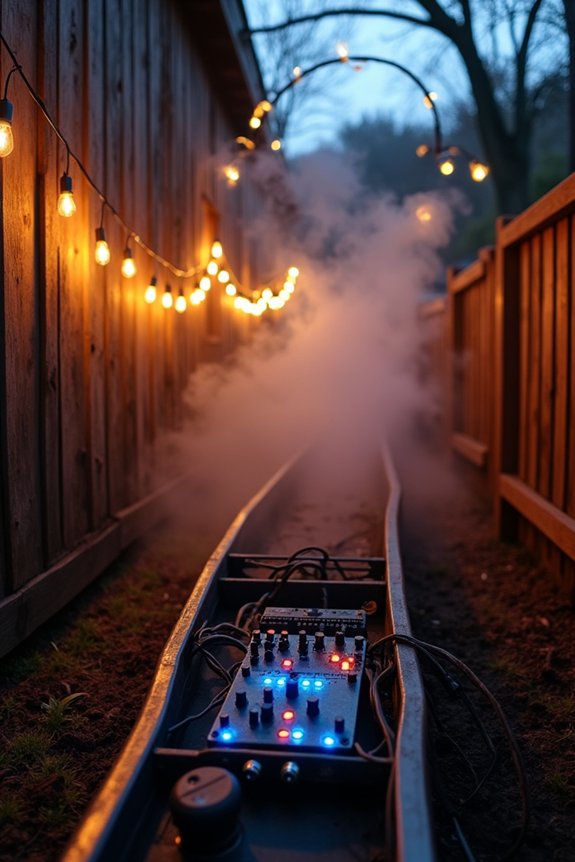
The real magic happens when you add lights, fog, and sound to your dark ride—without them, a silent vehicle creeping through darkness loses half its impact. I learned this after my first ride sat there looking pretty but feeling empty.
Start with a dedicated 12-volt battery system using two 6-volt motors wired together. Route all power through hidden channels behind your walls so guests never see tangled wires. I use blacklights paired with fluorescent accents for dramatic effects that work without overwhelming riders.
| Component | Purpose | Setup Time |
|---|---|---|
| 12V Battery | Power source | 15 min |
| Fog Machine | Atmosphere | 10 min |
| Blacklight | Mood | 5 min |
| Strobe Light | Drama | 5 min |
| RC Switch | Remote control | 20 min |
Synchronize everything to your soundtrack so timing feels intentional, not random.
Install Lap Bars, Bumpers, and Emergency Stops
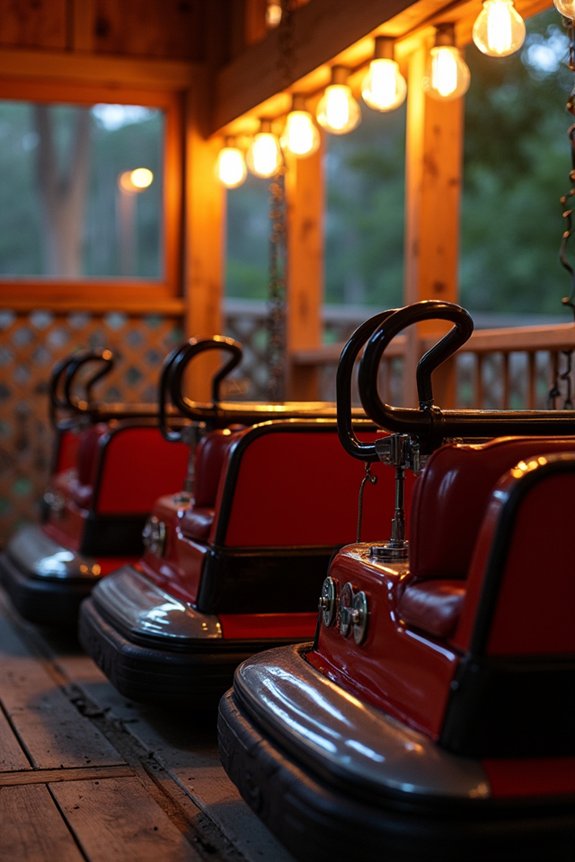
Why do safety features matter more than you’d think? I learned this the hard way—skipping shortcuts saves headaches later.
What I installed on my dark ride:
- Lap bars made from PVC pipe with pivoting hinges and secure latches that won’t accidentally pop open
- Bumpers using foam-padded edging at entrances and exits to guide guests safely without damaging anything
- Emergency stops with clearly labeled switches positioned within arm’s reach, cutting power instantly when needed
I padded everything with non-slip material where guests touch it. I also added a secondary manual release for the lap bars and a quick-open exit gate. Redundancy isn’t overkill—it’s peace of mind. Your guests will feel secure, and you’ll sleep better knowing you’ve covered all the bases.
Finalize Your Dark Ride: Assembly or Professional Help
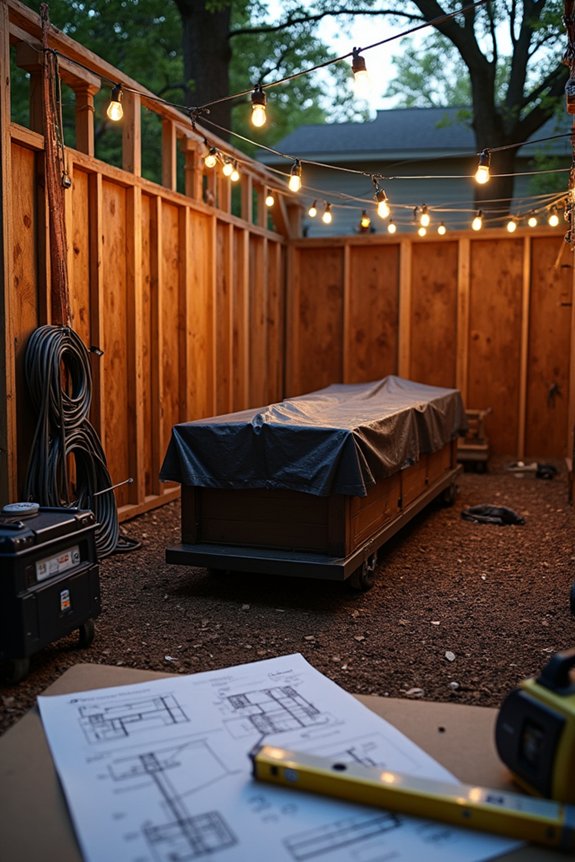
Now comes the big decision: do you want to finish this thing yourself or bring in the professionals? I’ve gone both routes, and each one has real trade-offs worth considering. You’re looking at either weeks of hands-on assembly work with modest costs, or paying a premium for a turnkey setup that’s ready to use right away.
DIY Assembly And Installation
Once you’ve got all your parts lined up, you’re probably wondering whether to tackle this yourself or call in reinforcements. Here’s the thing: I’d recommend DIY assembly if you’re comfortable with basic tools and following instructions carefully.
Most of the work isn’t complicated:
- Drilling connector holes into PVC track and fitting heat-shaped curves together
- Bolting L brackets to floor panels using toggle bolts for your façade framework
- Wiring low-voltage batteries to motors with a handheld remote controller
The real key is taking your time. I’ve found that rushing leads to misaligned tracks or loose connections. Work methodically, double-check measurements, and test everything before guests arrive. If wiring intimidates you, that’s where hiring help makes sense. Otherwise, you can complete this project successfully.
Professional Construction Services Available
If DIY assembly doesn’t feel like your thing—or if you’d rather skip the headaches entirely—professional dark ride companies can handle the whole project for you.
| Service | Cost Range | What’s Included |
|---|---|---|
| Complete Dark Ride | $1.2M+ | Full design, fabrication, installation |
| Renovation | $250K+ | Updates, theming, fresh effects |
| Customization | Flexible | Budget and deadline adjustments |
These companies manage everything: storyboards, blueprints, CGI effects, prop creation, and on-site installation. They’ve built rides for major parks nationwide and internationally. Their teams handle carpentry, animatronics, sculpting, and theming in-house. You’ll get turnkey packages with full immersion. They inspect your site, fabricate in their shop, develop custom graphics, then install everything professionally. You’re outsourcing the entire process to experienced professionals with proven track records.