I’ve learned that most people install can lights without considering how they’ll actually use the space—and that creates shadows, glare, and that harsh “runway” effect nobody wants.
The solution? Layer your can lights with task and accent lighting, space them right based on ceiling height, angle them away from screens, use dimmers for mood control, and position them around your furniture and key design elements.
Each of these strategies addresses a specific problem, so there’s definitely more to understand about getting this right.
Layer Can Lights With Task and Accent Lighting
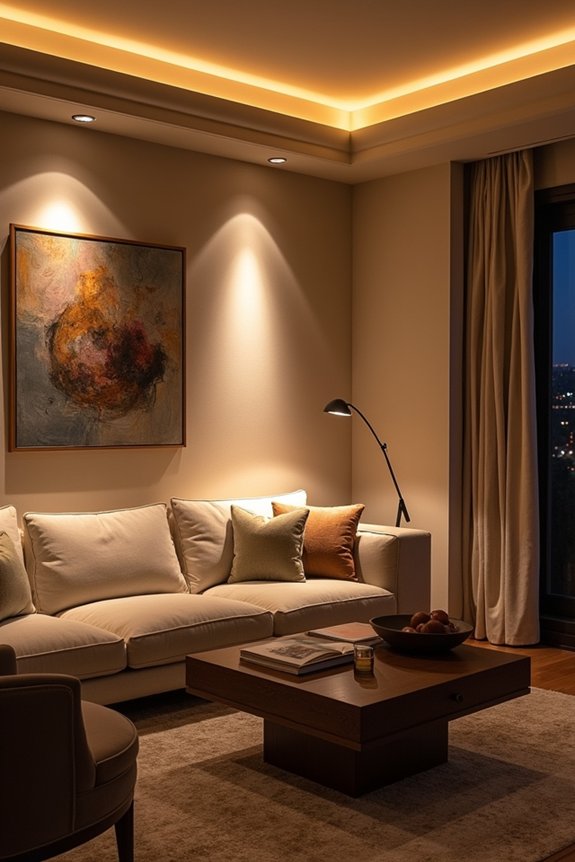
Why settle for one overhead light when you can create layers that actually work with how you use your living room?
I’ve found that combining can lights with task lighting works well. I place adjustable trims to direct light toward my sofa and reading chair, making those spots functional. Adding accent lighting—like wall washers highlighting artwork—brings personality without overdoing it.
Here’s what I appreciate most: pairing can lights with dimmers. I can smoothly adjust brightness from bright enough for activities to softer for relaxing. This approach keeps glare off screens while layering creates depth. The result? A living room that adapts to what I’m actually doing, whether reading, watching, or entertaining. It’s one of the simplest upgrades I’ve made.
Space Can Lights by Ceiling Height
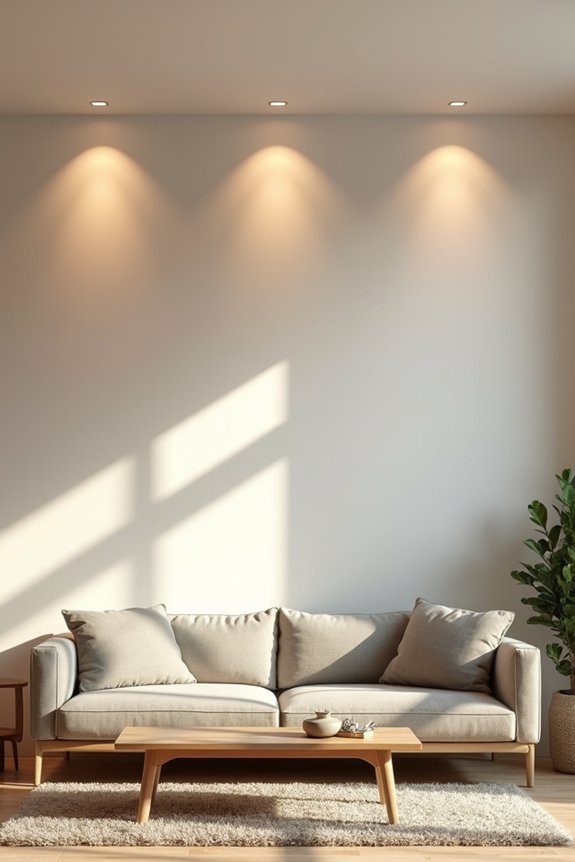
How you space your can lights affects the lighting quality in your room—even distribution prevents areas from being too bright or too dark.
Ceiling height is your spacing guide. For an 8-foot ceiling, place recessed lights about 4 feet apart. For 10-foot ceilings, use roughly 5-foot spacing. This method helps achieve consistent light distribution throughout your living room.
Keep lights at least 3 feet from walls. This prevents unwanted shadows and harsh corners that make spaces feel cramped.
The spacing formula works because it balances light placement naturally. Clustering recessed lights creates glare and dark patches. Follow the ceiling height formula for a well-lit living room.
Position Lights to Avoid Glare on Screens and Seating
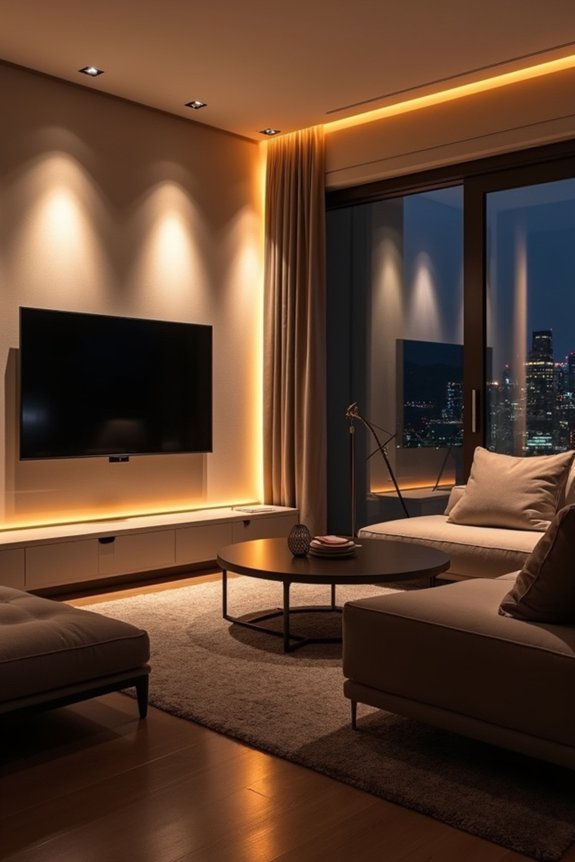
There’s nothing worse than settling in for a movie, only to find yourself squinting at glare bouncing off your TV. Recessed lighting placement matters in your living room.
There’s nothing worse than settling in for a movie, only to find yourself squinting at glare bouncing off your TV.
I angle my cans about 30 to 45 degrees away from seating and screens. This keeps glare minimal while maintaining balanced brightness throughout the space. I avoid positioning lights directly above or in front of where I sit or where my TV lives.
Adjustable trims are helpful here. They let me direct light exactly where I want it without creating those annoying hotspots. I also choose lower-brightness LED bulbs for movie nights.
Strategic placement and thoughtful brightness choices create a comfortable, glare-free zone. Your eyes will thank you.
Use Dimmers and Adjustable Trims for Living Room Moods
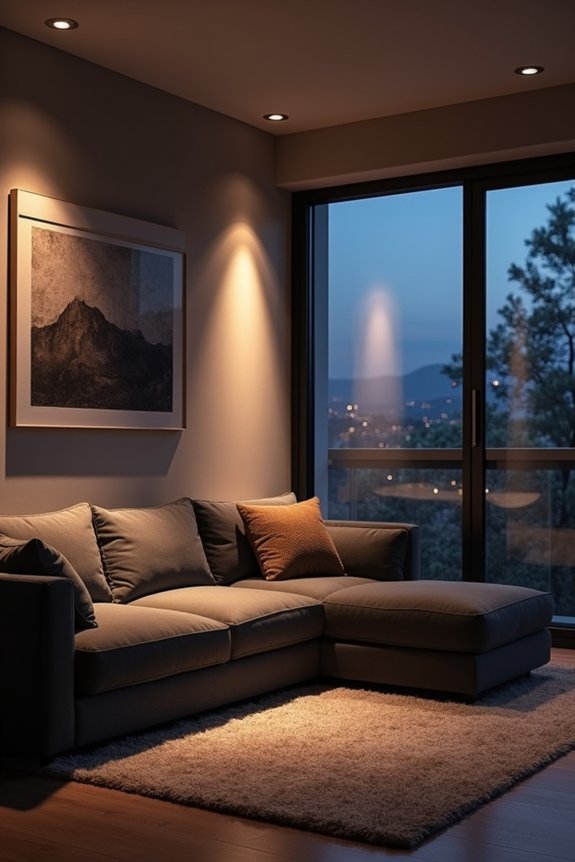
Once you’ve got your can lights positioned right, dimmers and adjustable trims become your tools for creating the mood you want. I’ve found that dimmers let me dial brightness up or down smoothly, depending on what I’m doing that evening. Eyeball or directional trims help me aim light exactly where I want it—toward seating, artwork, or focal points—so nothing feels washed out.
Here’s the thing: layered lighting prevents that harsh runway effect. I pair my dimmable can lights with other fixtures and lamps to add depth and richness. LED bulbs in 2700K–3000K create that inviting atmosphere I want when I dim them down.
Smart spacing means I never need full brightness anywhere, which keeps shadows soft and my living room feeling genuinely comfortable for movie nights or entertaining.
Place Lights Around Furniture and Focal Points
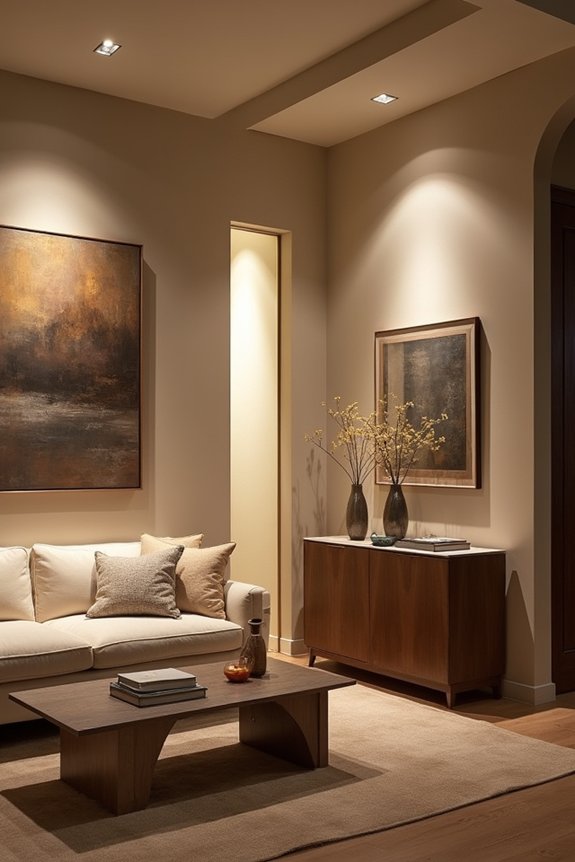
Strategic placement beats guessing every time—I’ve learned this the hard way after installing lights in odd spots that created shadows instead of ambiance. Here’s what I’ve discovered about positioning recessed lights in your living room.
| Ceiling Height | Spacing Between Lights | Distance from Walls | Best for | Fixture Type |
|---|---|---|---|---|
| 8 feet | Every 4 feet | 3 feet minimum | Standard rooms | Standard cans |
| 10 feet | Every 5 feet | 3 feet minimum | High ceilings | Adjustable trims |
| Any height | Around furniture | 3 feet+ | Task areas | Dimmable LEDs |
| Any height | Near focal points | 3 feet+ | Ambiance | Eyeball trims |
| Any height | Evenly distributed | 3 feet+ | Balance | Mixed options |
I place recessed lights to evenly illuminate seating areas or fireplaces. Adjustable trims near chairs let me direct light for reading without harsh reflections. Dimmable LEDs give me control over brightness and mood whenever I want it.