
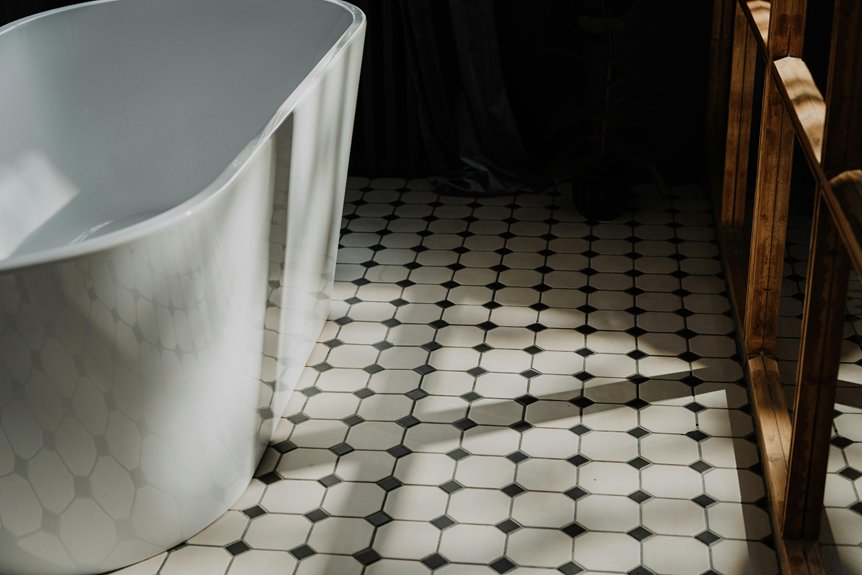
Yes, you can paint bathroom floor tiles. Start by sanding with 80, then 120, then 220 grit to prep the surface. Clean thoroughly and repair any grout damage. Next, apply a bonding primer like STIX, waiting 48 hours before painting. Use a 3/8 inch roller for three coats, spacing them six hours apart. Seal with two coats 24 hours apart, then wait 30 days before exposing to water. Maintenance is simple: mild soap and occasional resealing keeps everything looking fresh. Want the full breakdown on tackling each step?
Prep Your Tiles: Sanding, Cleaning, and Repair
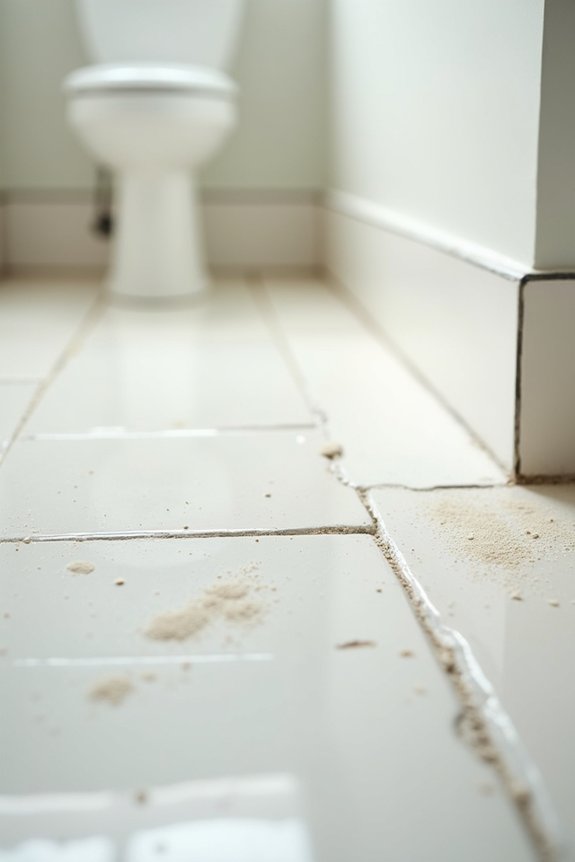
Here’s the thing about bathroom tile—it’s built to last, which means it’s also built to resist paint. Proper prep work is the difference between a job that lasts and one that peels within months.
Start by sanding the tile glaze with 80 grit to tackle built-up grime, then move to 120 grit for overall surface prep. Finish with 220 grit for that fine skim. Next, clean thoroughly using Krud Kutter or a heavy-duty stripper—let it sit about 15 minutes, scrub with a nylon brush, and rinse well.
Don’t skip grout repair; use paintable caulk on any cracks or missing spots. After vacuuming dust, run an adhesion test with tape on a small patch before priming. This surface prep keeps your paint from peeling.
Prime Your Floor With a Bonding Primer
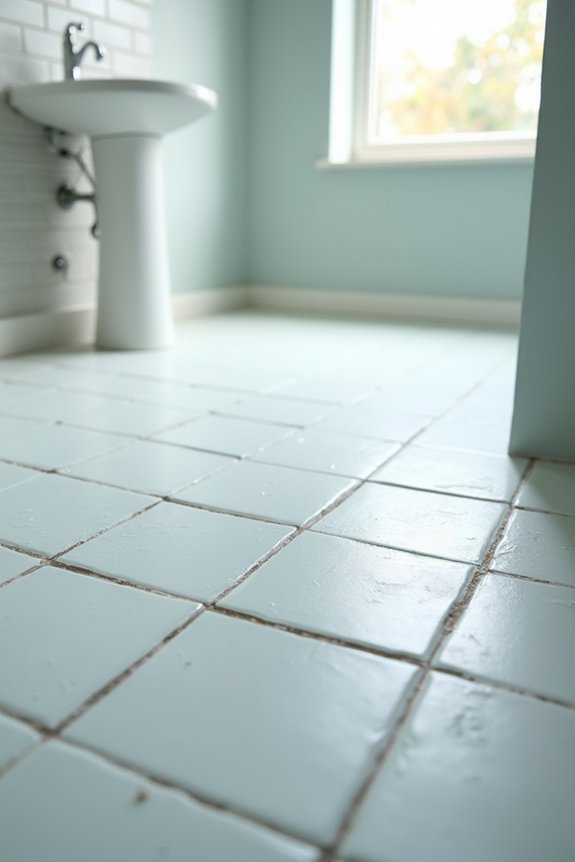
Once you’ve prepped your tiles—and I mean really prepped them—primer becomes your hidden asset. I use STIX primer on grout edges first, brushing carefully along seams. Then I roll primer onto the rest of the floor for even coverage.
Primer is your hidden asset—brush STIX carefully along seams, then roll for even coverage across the floor.
Before committing fully, I always run an adhesion test: paint a 3-inch by 3-inch section, let it dry 12 hours, and check if it sticks. This small step saves headaches later.
Here’s what I’ve learned: don’t rush the cure time. Most bonding primers need 48 hours minimum before base coats go on. I know waiting feels long, but proper dry time makes everything hold securely.
The floor preparation and 120–220 grit sanding I did earlier directly impact primer adhesion now, especially on tile glaze. Skip nothing—it genuinely matters.
Apply Your Paint in Three Coats
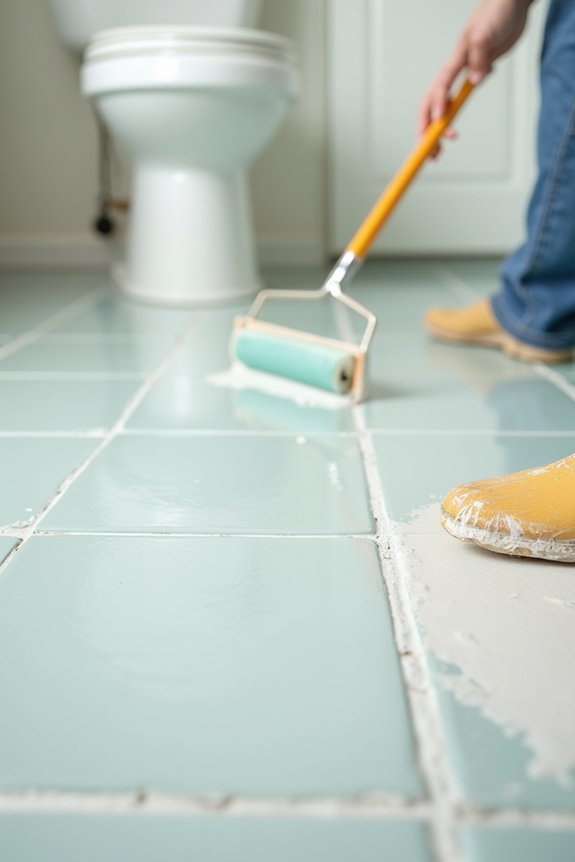
Now that your primer’s fully cured, you’re ready for the paint itself—and this is where patience really pays off. I’ll grab my 3/8 inch nap roller and apply the base coat in manageable 4-foot by 4-foot sections, maintaining a wet edge for even coverage across my bathroom tile.
Here’s the waiting game: I need 6 hours of dry time before adding my top coat. If I’m feeling ambitious, I can apply a second top coat for added durability, then wait another 6 hours. My final coat needs 24 hours before I can walk on it safely.
The real test? The cure time. I’m avoiding foot traffic and heavy objects for seven full days. It’s tempting to use my bathroom sooner, but honestly, skipping this step risks all my work.
Seal Your Floor and Let It Cure
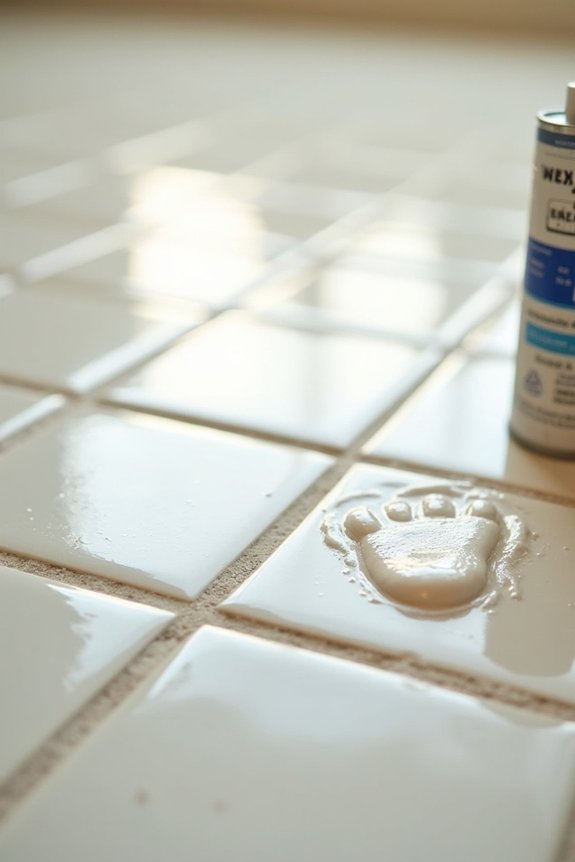
Why’s sealing so important after you’ve put in all that work painting? Your painted tiles need protection, and that’s where floor sealer comes in.
I’ll apply two coats of sealant, spacing them 24 hours apart. This creates a barrier against scratching and chipping—giving your tiles solid wear protection. If you’re worried about slippery floors, Behr anti-slip options exist, though sealing remains necessary regardless.
Now comes the patience part. Full cure takes 30 days before you can use soap and water. Until then, stick with gentle cleaning only. Check your specific product’s cure time because it varies. If wear or peeling appears down the road, reapplication keeps everything looking fresh and durable long-term.
Keep Your Painted Tiles Fresh
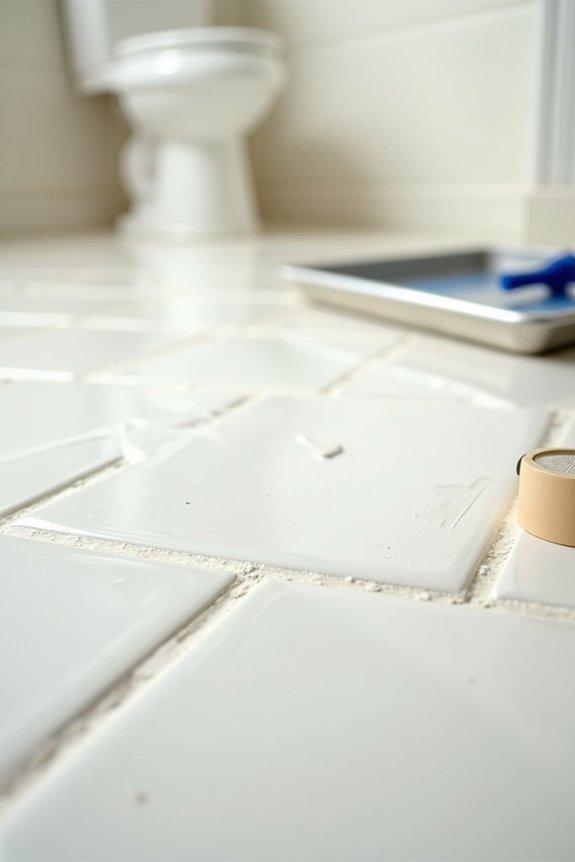
Your painted tiles aren’t done needing attention once that sealer cures. Keeping your bathroom floor looking fresh requires consistent maintenance. After your curing time ends, you can finally clean with mild soap and water or Krud Kutter Cleaner & Degreaser. Regular cleaning prevents dirt buildup that dulls your tile coating.
Schedule touch-ups whenever you notice wear appearing, particularly in high-traffic areas. Resealing becomes necessary every few years to preserve durability and prevent chipping. Consider your anti-slip finish too; it’s worth protecting with proper care.
Think of maintenance like brushing teeth—small efforts prevent big problems. Your painted tiles will reward consistent attention with lasting beauty and protection.