

I’ll walk you through measuring your kitchen sink—it’s simpler than expected. First, measure your countertop opening’s interior dimensions since your sink needs to fit snugly. Next, check the rim overlap and material thickness; this prevents water from seeping underneath. Finally, confirm your basin depth won’t interfere with faucets or cabinets below. Get these three measurements right, and you’ll avoid costly reinstalls. Stick around for the detailed breakdown of each step.
Step 1: Measure Your Countertop Opening (Interior Dimensions)
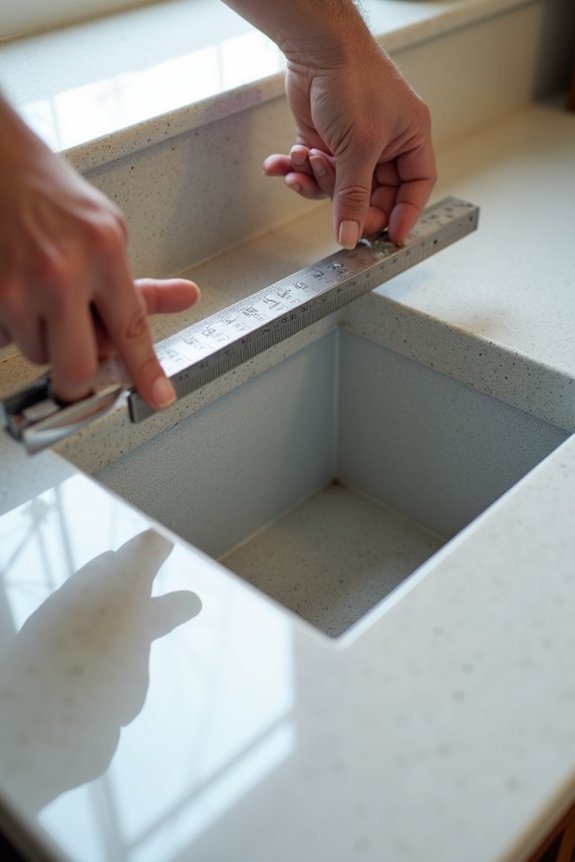
Why does measuring your countertop opening matter so much? I learned this the hard way when my replacement sink arrived and didn’t fit. The interior dimensions of your countertop opening directly impact sink fit, especially with top-mount sinks. These sinks drop into your hole and hang from a rim on top, so measuring accurately is necessary. Start by measuring the opening’s interior dimensions carefully, because the countertop opening size directly determines what basin interior will work. Your measuring opening needs to be slightly smaller than the sink’s top rim, allowing for proper sink rim overlap and seating. This measurement determines opening compatibility with your replacement sink size. This step is the foundation for everything else.
Step 2: Measure Rim Overlap and Material Thickness
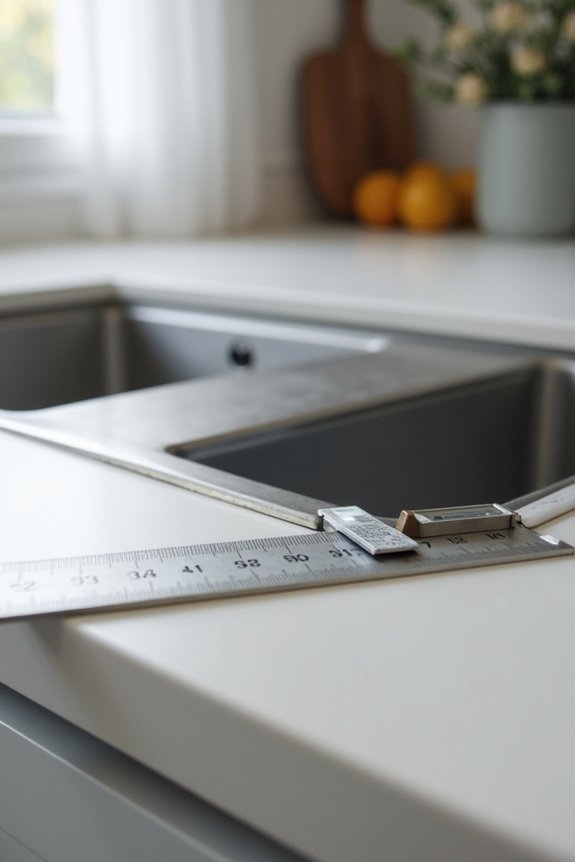
Once you’ve got your countertop opening dimensions down, the rim and material thickness matter just as much. When measuring rim overlap, check that the basin rim extends slightly beyond the countertop opening edges. This overlap keeps water from seeping underneath.
Now for material thickness—it’s more complex than it first appears. Measure the outer edges of the basin’s underside to account for this. Stainless steel adds just millimeters, but enamel-coated cast iron adds considerably more. This matters for compatibility with your countertop opening.
These measurements confirm whether your top-mount sink actually fits. Take both measurements seriously. They’re the difference between a successful installation and undermount considerations later.
Step 3: Confirm Basin Depth, Faucet Clearance, and Cabinet Fit
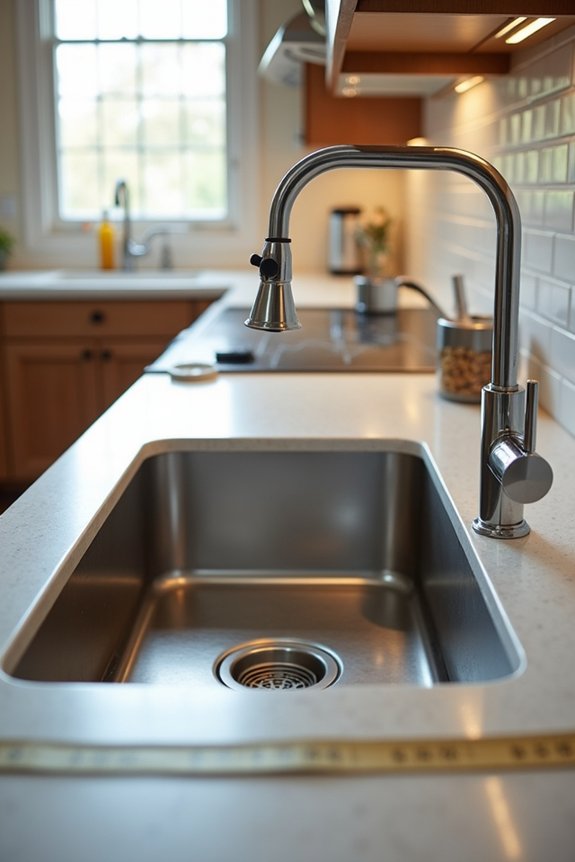
How deep does your sink actually need to be? Basin depth matters more than you’d think. I measure from the cabinet top to the drain outlet, confirming my interior dimensions won’t create plumbing issues.
Here’s what I check: Does your faucet clearance work with the backsplash? I verify the spout and handles won’t collide with the basin. For outer dimensions, I confirm the countertop cutout fits perfectly with adequate rim overlap for undermount or apron front styles.
I also inspect rough-in drain outlets behind the sink. Deeper bowls—9 to 10 inches in stainless steel—demand cabinet fit verification. Getting sink compatibility right prevents costly reinstalls. Measuring twice saves frustration later.